In this episode of The Handyman Blog I am going to show you a recently completed full laundry room renovation. I took a standard galley laundry room and fully utilized the small space to turn it into a laundry/pantry/utility/water heater closet. I didn’t touch the already very nice tile flooring, but every other inch of this room was altered in some way in order to achieve the clients primary goal of maximizing storage while also hiding the water heater (it was visible from the hallway). Let’s get started!
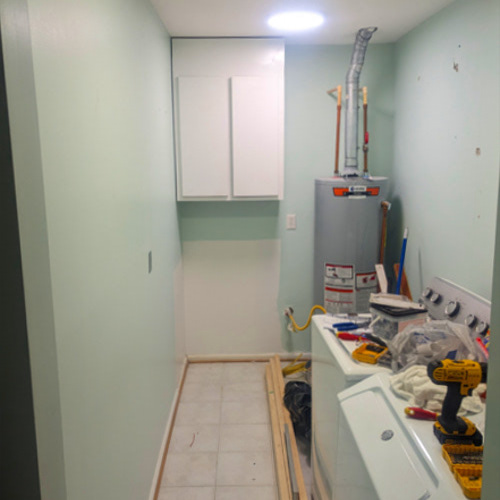
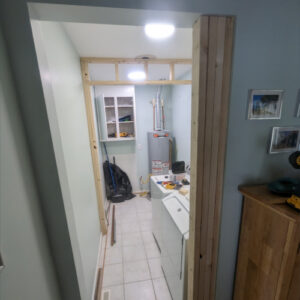
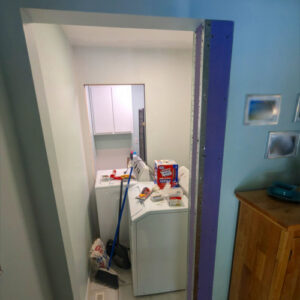
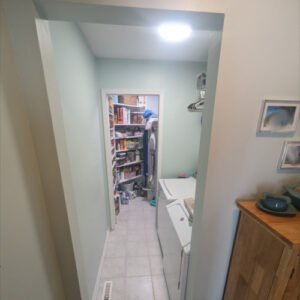
As you can see, This laundry room was severely lacking when it came to properly utilizing its space. There was a single upper and lower cabinet set and a few wire shelves on the wall to the right. Additionally the water heater was highly visible and the dryer jutted 7 inches into the rooms’ entryway. It just wasn’t an ideal situation.
The client asked that I come over and help brainstorm ideas to figure out just what we could do to make this space better. Throughout this entire laundry room renovation process, the client and I bounced ideas back and forth until we finally achieved a finished product that the client loved. I am not sure that the final product is at all what either of us initially envisioned but this was an ever evolving project until the very end.
This is what we came up with:
Divider Wall! Pocket Door! Pantry! Let’s GOOO!
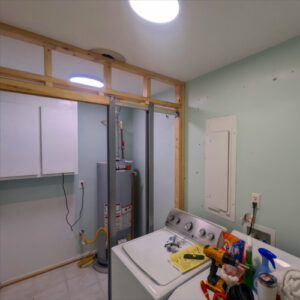
The first step in the project was to frame out all the major changes in this room. This included framing in the divider wall along with installing the pocket door frame. This particular pocket door frame is the Johnson Hardware 1500SC. I highly recommend this frame to anyone interested due to its sturdiness and relative ease of installation. Here I also laminated 2x4s at the entryway to the laundry room to help reduce the dryer reveal. I made sure to keep the entryway large enough to get the washer and dryer out if they need replacing.
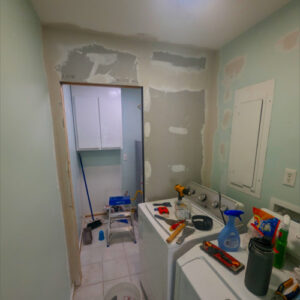
Once the construction process was over it was time to add some drywall. It is amazing how quickly the space changes when the drywall goes up on the divider wall. We are now working with two separate rooms! In the photos here you can see the process of finishing the new wall. The entryway also got some drywall work in this phase. I used aluminum corner guards on the 2×4 laminate to protect it from being whacked with laundry baskets. With the walls nearing completion it was time to start building some custom shelves.
Adding The Shelving
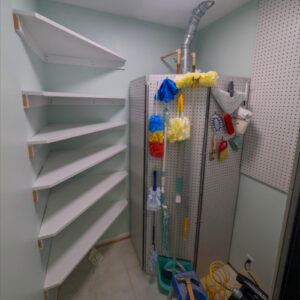
The pantry, a.k.a. the brand new room in the house, was an interesting build. The client had an old folding divider that she used to use to hide the original laundry room from view. I took the divider and added pegboard to it to 1) hide the water heater even further ad 2) get some good utility space out of the deal. I additionally added pegboard to the right wall and the back of the new pocket door wall. Pretty sure every mop and broom in the house can have its own spot now! I also later added a built in stool on the right to hold laundry baskets on top with a bit of storage underneath.
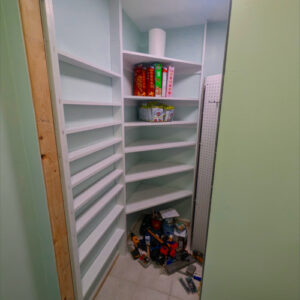
Then it was time to work on the pantry shelves. These shelves are all custom made with the heights between each designed to custom fit particular items that the client wanted. The large corner shelves are for fitting large/bulk items and the smaller shelves are for canned goods. I only had about 4 inches to work with on the side so it was an extremely good use of space. The design of these smaller shelves has a “floating” appearance so that there are no obstructions to any items on them.
Finishing Touches
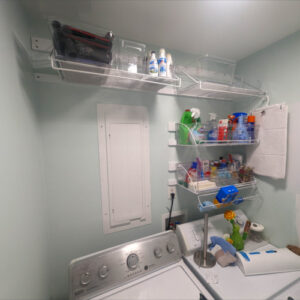
The last step of this laundry room renovation was to rehang the wire shelving above the washer and dryer. Previously they had been anchored to the drywall because there are no studs where the shelves needed to go. This caused bowing out of the drywall and tear outs do to the shelves weight. My solution was to create these stud mounted, French Cleat inspired wall mounts to hang the shelves on. It was a highly functional solution to the issue and also has a nice look to it.
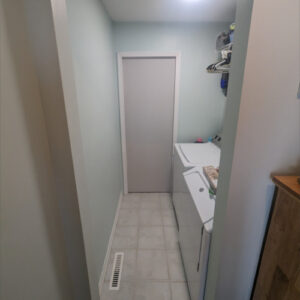
There are a few more final details, such as door and baseboard trim, that I didn’t document, but the final product can be seen in these last two photos below. Overall this laundry room renovation was a very fun project and a great success in the end!
Thanks for checking out this project. If you are looking for a laundry room renovation of your own please reach out and we can make it happen!
And as always,