I know there was a huge gap between posts but I have been quite busy around Richmond this summer. There are quite a few remodels to share and I am going to kick it off with this gorgeous kitchen transformation!
I took this SUPER outdated, mostly original, 1950s kitchen and gave it a 70 year time warp into the future. This room had everything; old peeling wallpaper, popcorn ceilings, baseboard heaters, a large… thing… hanging from the ceiling. Needless to say, there was a ton of wasted space and the old wood / wallpaper aesthetic simply had to go. I definitely had my work cut out for me!

First things first….
DESTROY!

A LOT happened between the oldest picture and these. The first changes came with the wallpaper and popcorn ceiling getting eliminated. A lot of drywall repair and painting went in to getting the walls back to normal. That process was actually a separate job that occurred before the full renovation. I would normally complete those steps after removal of the old cabinets.
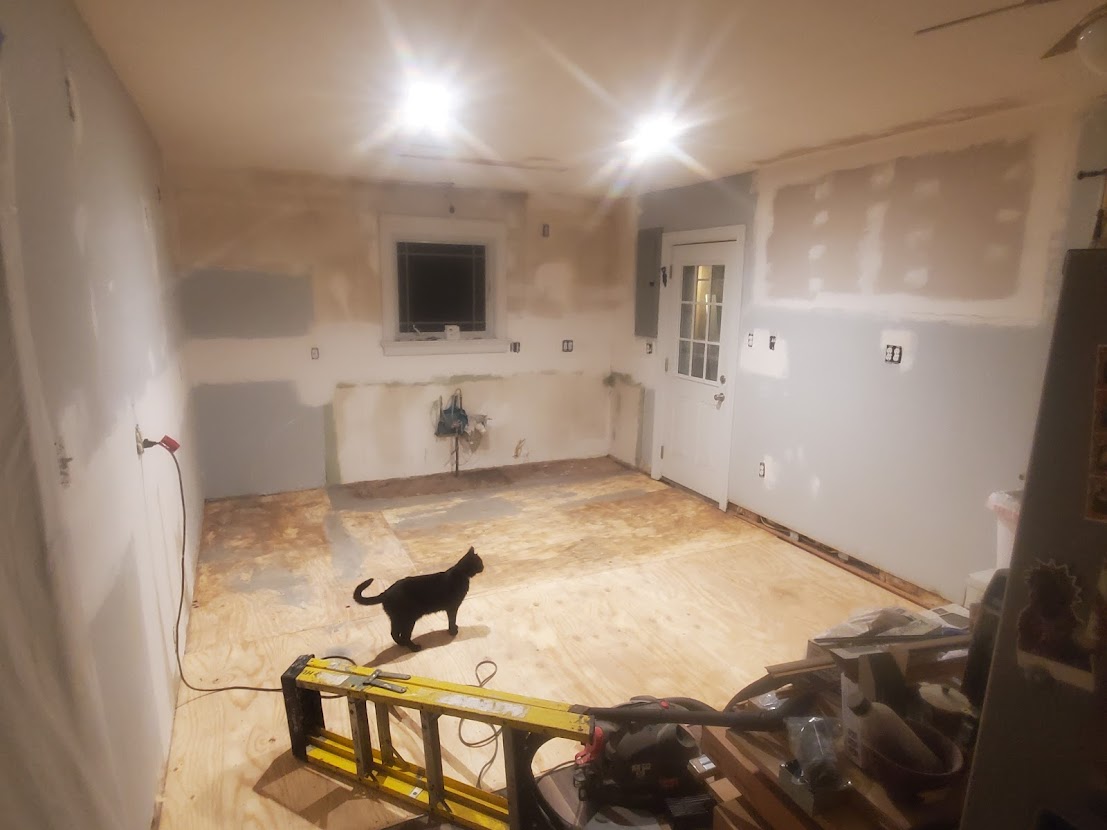
Then it was time to rip out the entire kitchen — cabinets, plumbing, and parquet flooring included. After demolition and preliminary wall repairs, the room really started to show its potential. Official kitchen transformation inspector Binx (the cat) was there to help scrutinize our work and make sure we got all the glue off the subfloor!
With everything out of there it was time to:
Rebuild!
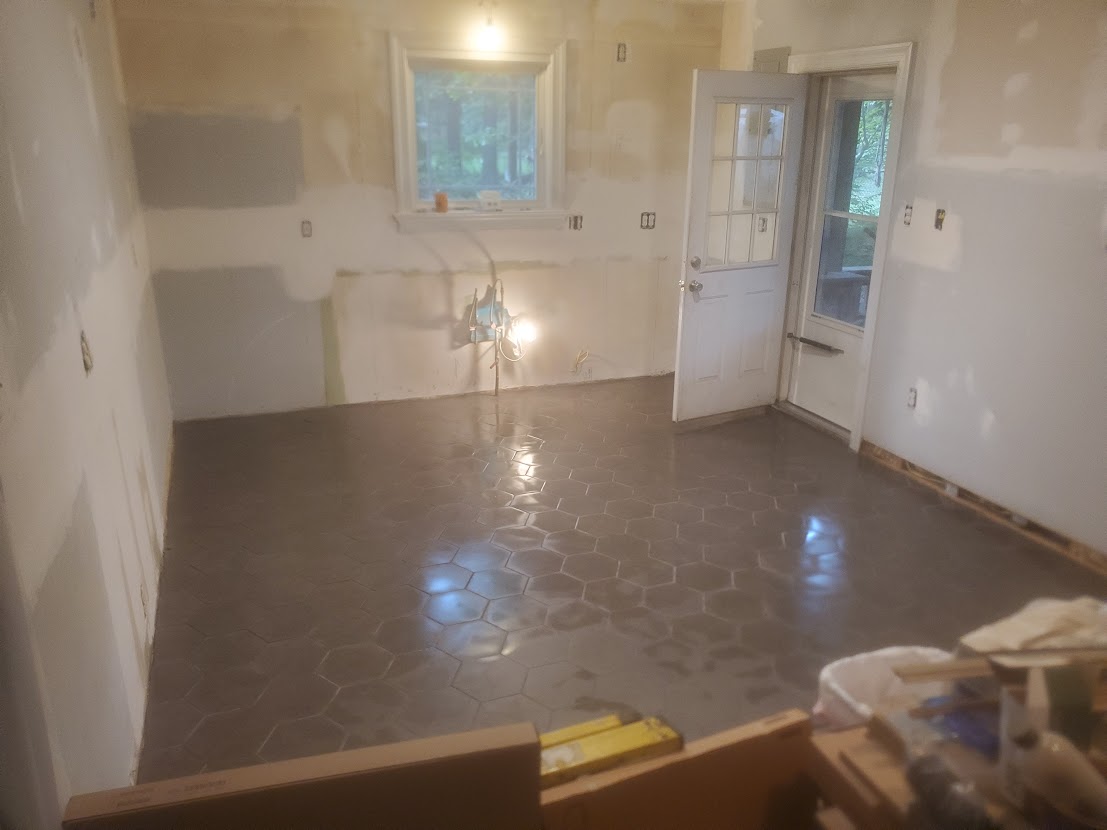
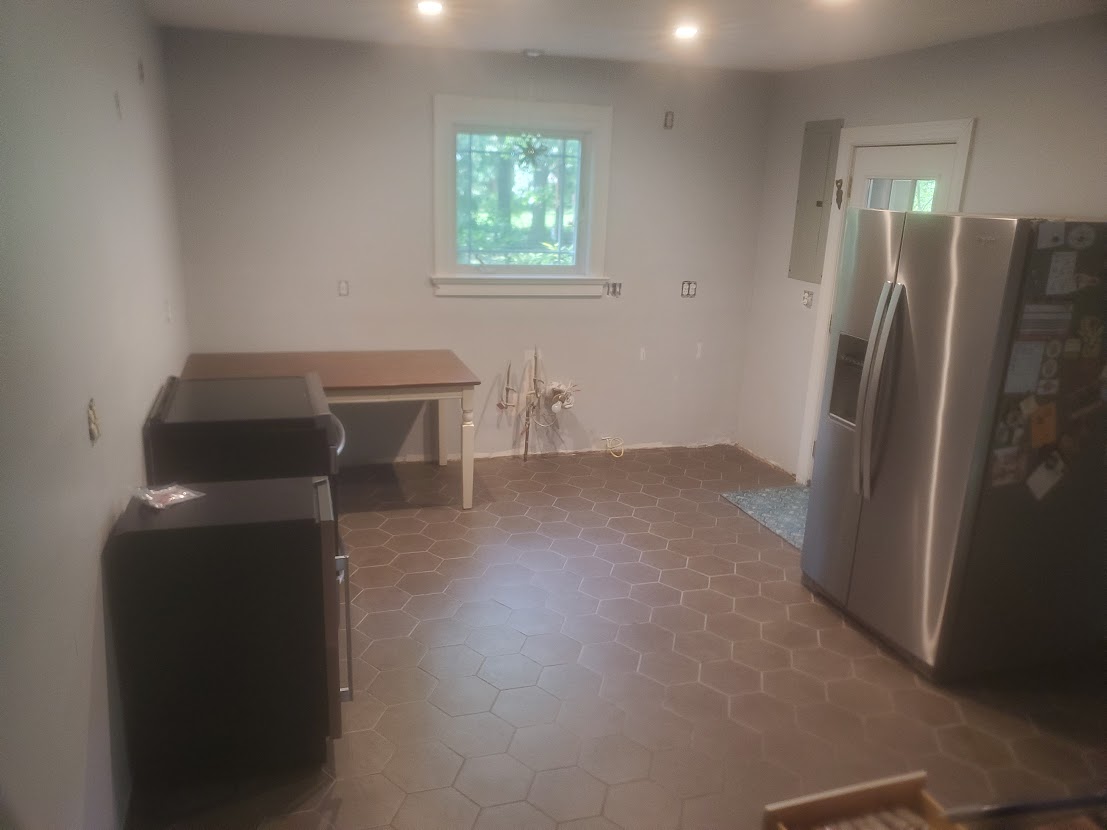
Here you can see the initial progress towards there being an actual kitchen again. All the electrical has been completed and any holes in the drywall are patched up. After prepping all of the surfaces, I was able to lay the nice new charcoal floor tiles and get a fresh coat of paint on the walls. A full 24 hours allowed the tiles to set and I was then able to move the appliances into their approximate positions. Finally everything was ready and I was ready to start putting in the new cabinets!
Cabinet Installation
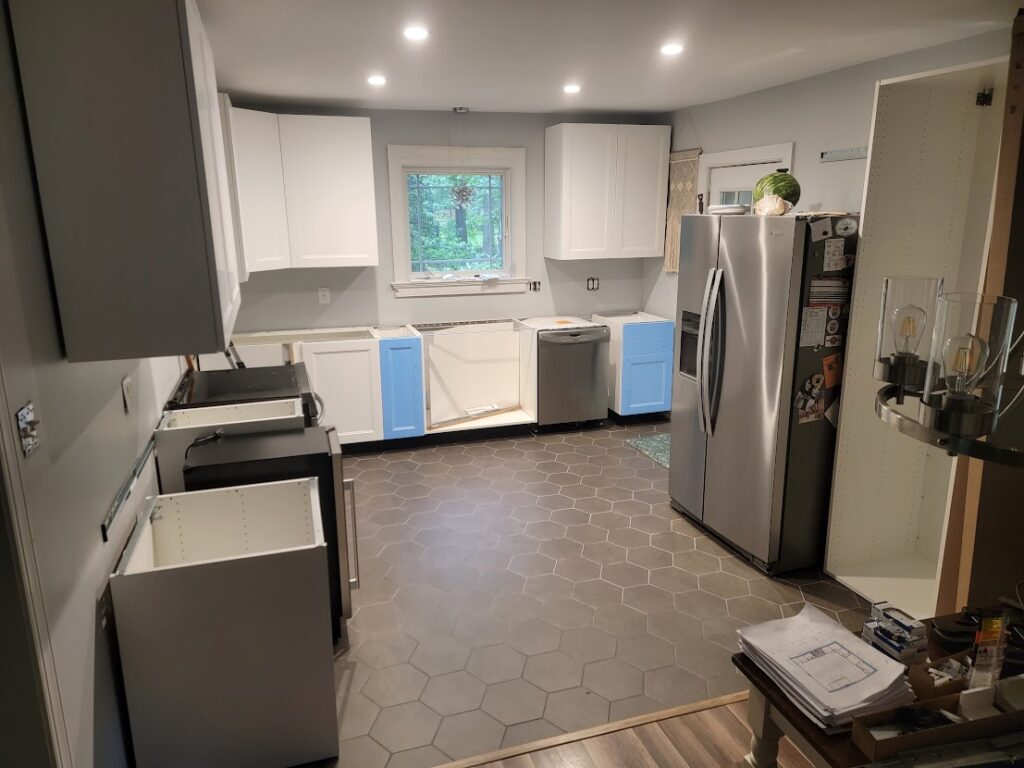
The cabinets for this kitchen were from IKEA. The first step with the IKEA system is to install rails around the entire room from which the cabinets hang. Making sure that the rails are precisely hung is the hardest part of the entire install. I’m just glad that laser levels exist!
After that you just build each cabinet and place them approximately where they’re supposed to go. Once you get them all in place you screw them together and add some cover panels to give the kitchen a finished look. At that point you are ready for the countertops and sink install. In the picture to the left you can see some parts of the rail system with most of the cabinets built and installed.
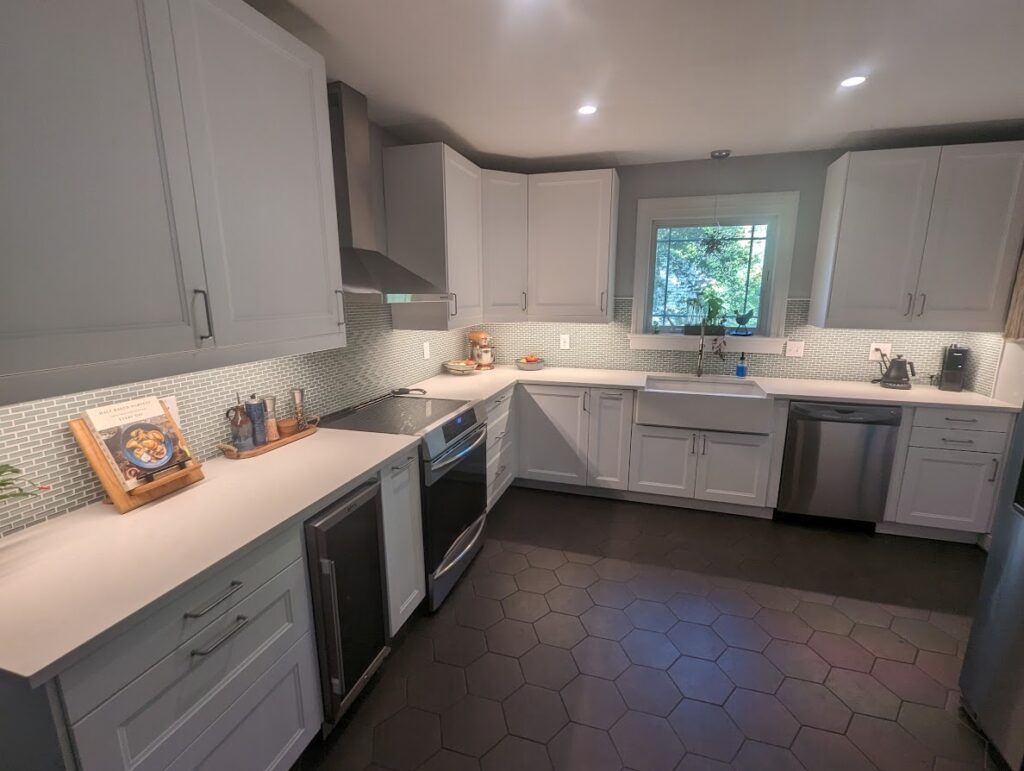
And here it is, the final product! After the counters went in the finishing steps were able to take place. Scribed panels are used to fill in any gaps and all appliances are hooked up and locked in to place. The finishing touch was the nice seafoam backsplash to add a little color to this kitchen and really tie it all together.
I couldn’t be happier with how this kitchen transformation turned out and the client feels the same. It is such a great feeling to see the hidden potential that a room has and really turn it into something great!
If you need any work done in your kitchen, let us know! Together we can turn your kitchen in to the one you’ve always dreamed about!
And as always,